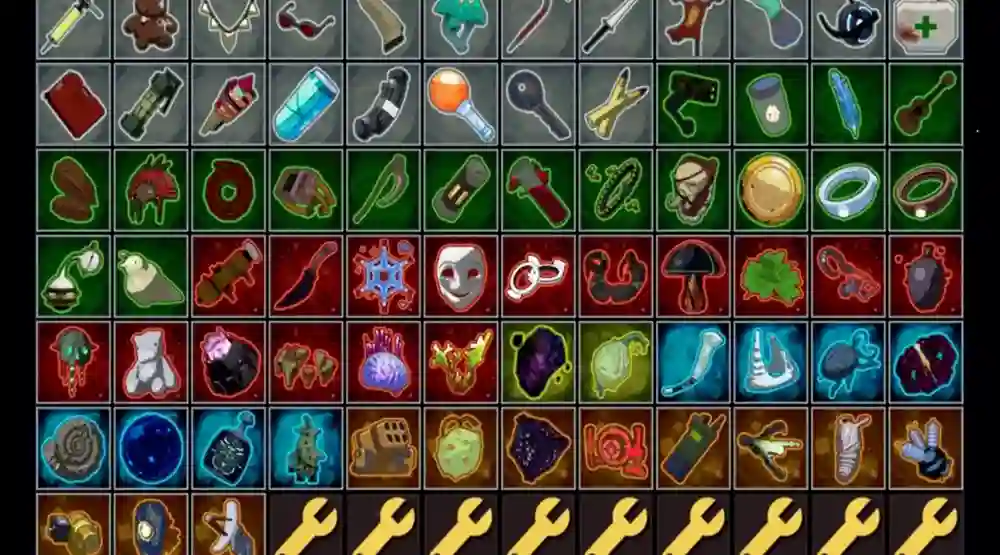
Alright, let’s get real. Risk of Rain 2 isn’t just another run-and-gun game. It’s a test of strategy, skill, and survival where every little decision—especially what items you pick—can be the difference between dominating the game or, well, getting obliterated by the final boss. So, when it comes to Risk of Rain 2 items, let’s face it: choosing the right ones is a little like choosing the right ingredients for a cocktail. Too much of one thing, and you’re doomed. Too little, and you’ll be thirsty for more… and that doesn’t end well.
Let me walk you through some of the best combos and items in Risk of Rain 2. If you’re like me (aka, not great at decision-making under pressure), hopefully this guide will help you make the right picks—and avoid the “oops, why did I pick that?!” moments.
1. The Holy Grail of Risk of Rain 2 Items: The Artifact of Command
Okay, let’s start strong. The Artifact of Command is like the Swiss Army knife of Risk of Rain 2 items—it’s just that good. Trust me, I learned the hard way. You see, before I figured out how to use this artifact, I was stuck with a bunch of “meh” items. And by “meh,” I mean I’d end up with a load of things that were good, but not great. The Artifact of Command changes everything. It lets you pick whatever item you want from a list, making your strategy a lot more flexible. Imagine getting to choose exactly the items you want rather than hoping RNG blesses you. It’s like getting your birthday wish, but better.
You can combo this with practically anything, but I’m particularly fond of it when paired with the Ukulele. The Ukulele sends out lightning bolts every time you attack—yes, please! Now, toss in the Artifact of Command, and you’re setting up a lightning storm that’s harder to dodge than my high school algebra homework.
Why You Need It:
- Flexibility: Choose your items. Yes, I know. It’s a game-changer.
- Combo Potential: Everything, from healing to damage, can be tailored to your playstyle.
- Strategic Overload: You can pile up crazy synergies when you control your item pool.
Fast forward past three failed attempts at picking the perfect loadout, and you’ll find that this artifact is the key to that sweet, sweet victory. Don’t sleep on it.
2. The Power of the Boss Items: Personal Faves and Fatal Mistakes
So, here’s a fun fact: my first time fighting a boss, I was so sure of myself. I’d spent all that time in Risk of Rain 2 collecting items, thinking, “Yeah, I’m ready. This boss doesn’t stand a chance!” Spoiler alert: the boss wiped the floor with me. The reason? I neglected the most powerful Risk of Rain 2 items for bosses—items that can dramatically increase your damage output and survivability.
Let’s talk about the Cautious Slug. This little critter is wicked if you’re looking to stay alive longer during those intense boss battles. And trust me, you want that extra durability because, no matter how good your combat skills are, not dying is the ultimate strategy. This slug heals you over time, which is a major lifesaver when you’re dodging bosses that hit like freight trains.
Now, the trick here is combining the Cautious Slug with items like the Soldier’s Syringe (for attack speed) and Predatory Instincts (for crits). With these three, you’re looking at a wild synergy of speed, healing, and damage. It’s like making a bad decision—but the good kind of bad, if you catch my drift.
Why You Need Them:
- Healing Over Time: Staying alive = winning. Cautious Slug is your new best friend.
- Maximizing Damage: Combining the right items with this slug? Straight-up lethal.
- Synergy Heaven: These three items together? They’re the peanut butter to your jelly.
3. The Mysterious, Unpredictable Artifact of Sacrifice
Okay, okay, here’s the kicker. The Artifact of Sacrifice. This one’s a little trickier and requires some finesse. When I first tried it, I thought, “Easy—just trade health for power. What’s the worst that could happen?” Yeah… sure. That’s what I thought too, before I found myself down to a sliver of health with all my items getting progressively worse.
But once you figure out how to make the Artifact of Sacrifice work for you, it’s a game-changer. The key to success here is stacking healing items like Leeching Seed or Medkit. If you can afford to give up health for power, you’ll become an unstoppable force. You’ll start stacking damage at an alarming rate, and, if played correctly, you can end up with a combination of firepower and survivability that other players can only dream of.
Why You Need It:
- High Risk, High Reward: But with the right setup, it’s worth it.
- Healing Synergies: Stack your healing, then stack your power. All day.
- Overpowered Damage: You’ll be crushing enemies like you’re raiding your grandma’s cookie jar.
4. Don’t Forget the Classic: The Ukulele
Look, the Ukulele is a classic. It’s the “comfort food” of Risk of Rain 2 items. When I first unlocked it, I thought, “Okay, cool, a little electric zap here and there.” But fast forward 10 hours of gameplay, and I’m telling you, this item is the most underrated thing in the game. It’s not just a cute item—it’s a game-winner when you stack it with the right synergy.
Think about it: You attack, you trigger a lightning strike. Every. Time. This becomes absolutely bonkers when paired with the Predatory Instincts and Soldier’s Syringe. You’re lightning-fast, firing off strikes left and right. You might not have the tankiest defense, but at least you’ll zap everything in your path.
Why You Need It:
- Simple Yet Powerful: A classic for a reason.
- Stackable Damage: The more you attack, the more it strikes. It’s like the game can’t get enough.
- Perfect for Speedy Builds: This combo’s perfect for those who love fast-paced chaos.
5. The Eternal Debate: The Imp Overlord vs. The Beetle Guard Combo
Alright, now for some real talk: Imp Overlord vs. Beetle Guard. Both have their merits. Personally, I’m partial to the Imp Overlord, mainly because it’s more of a “spontaneous eruption of chaos” sort of vibe. This guy spawns mobs that help you rack up damage when you’re on the move. The Beetle Guard, on the other hand, is more of a tanky option that stays with you longer, taking hits while you focus on doing, well, everything else.
I can’t decide which one I love more. The Imp Overlord can send your damage into overdrive, but the Beetle Guard? It’s like having a loyal buddy who’s got your back. Either way, this is where the art of choosing the perfect Risk of Rain 2 items comes into play.
Why You Need Them:
- Imp Overlord: Spawn allies for massive damage and chaos.
- Beetle Guard: High health, great defense, and a true tank in any situation.
- Combination: Consider mixing them up for ultimate synergy.
Final Thoughts on Risk of Rain 2 Items
So, what did I learn through all this chaos and experimentation? (Mostly failure, but hey, we’re in this together.) There are no perfect combos—just the ones that work best for you.
Remember, there’s no right way to play Risk of Rain 2. But with the right Risk of Rain 2 items and combos, you’ll be one step closer to not only surviving but dominating every level. Whether you’re stacking healing items, going all in on speed, or unleashing chaos with your favorite combos, just keep experimenting. Because the beauty of Risk of Rain 2 is that, even with all the chaos, you’re still the one pulling the strings. And let’s be honest—who doesn’t want that kind of power?


